🧑💻 Setting Up My New MacBook Air M4 for Web Development (2025 Edition)
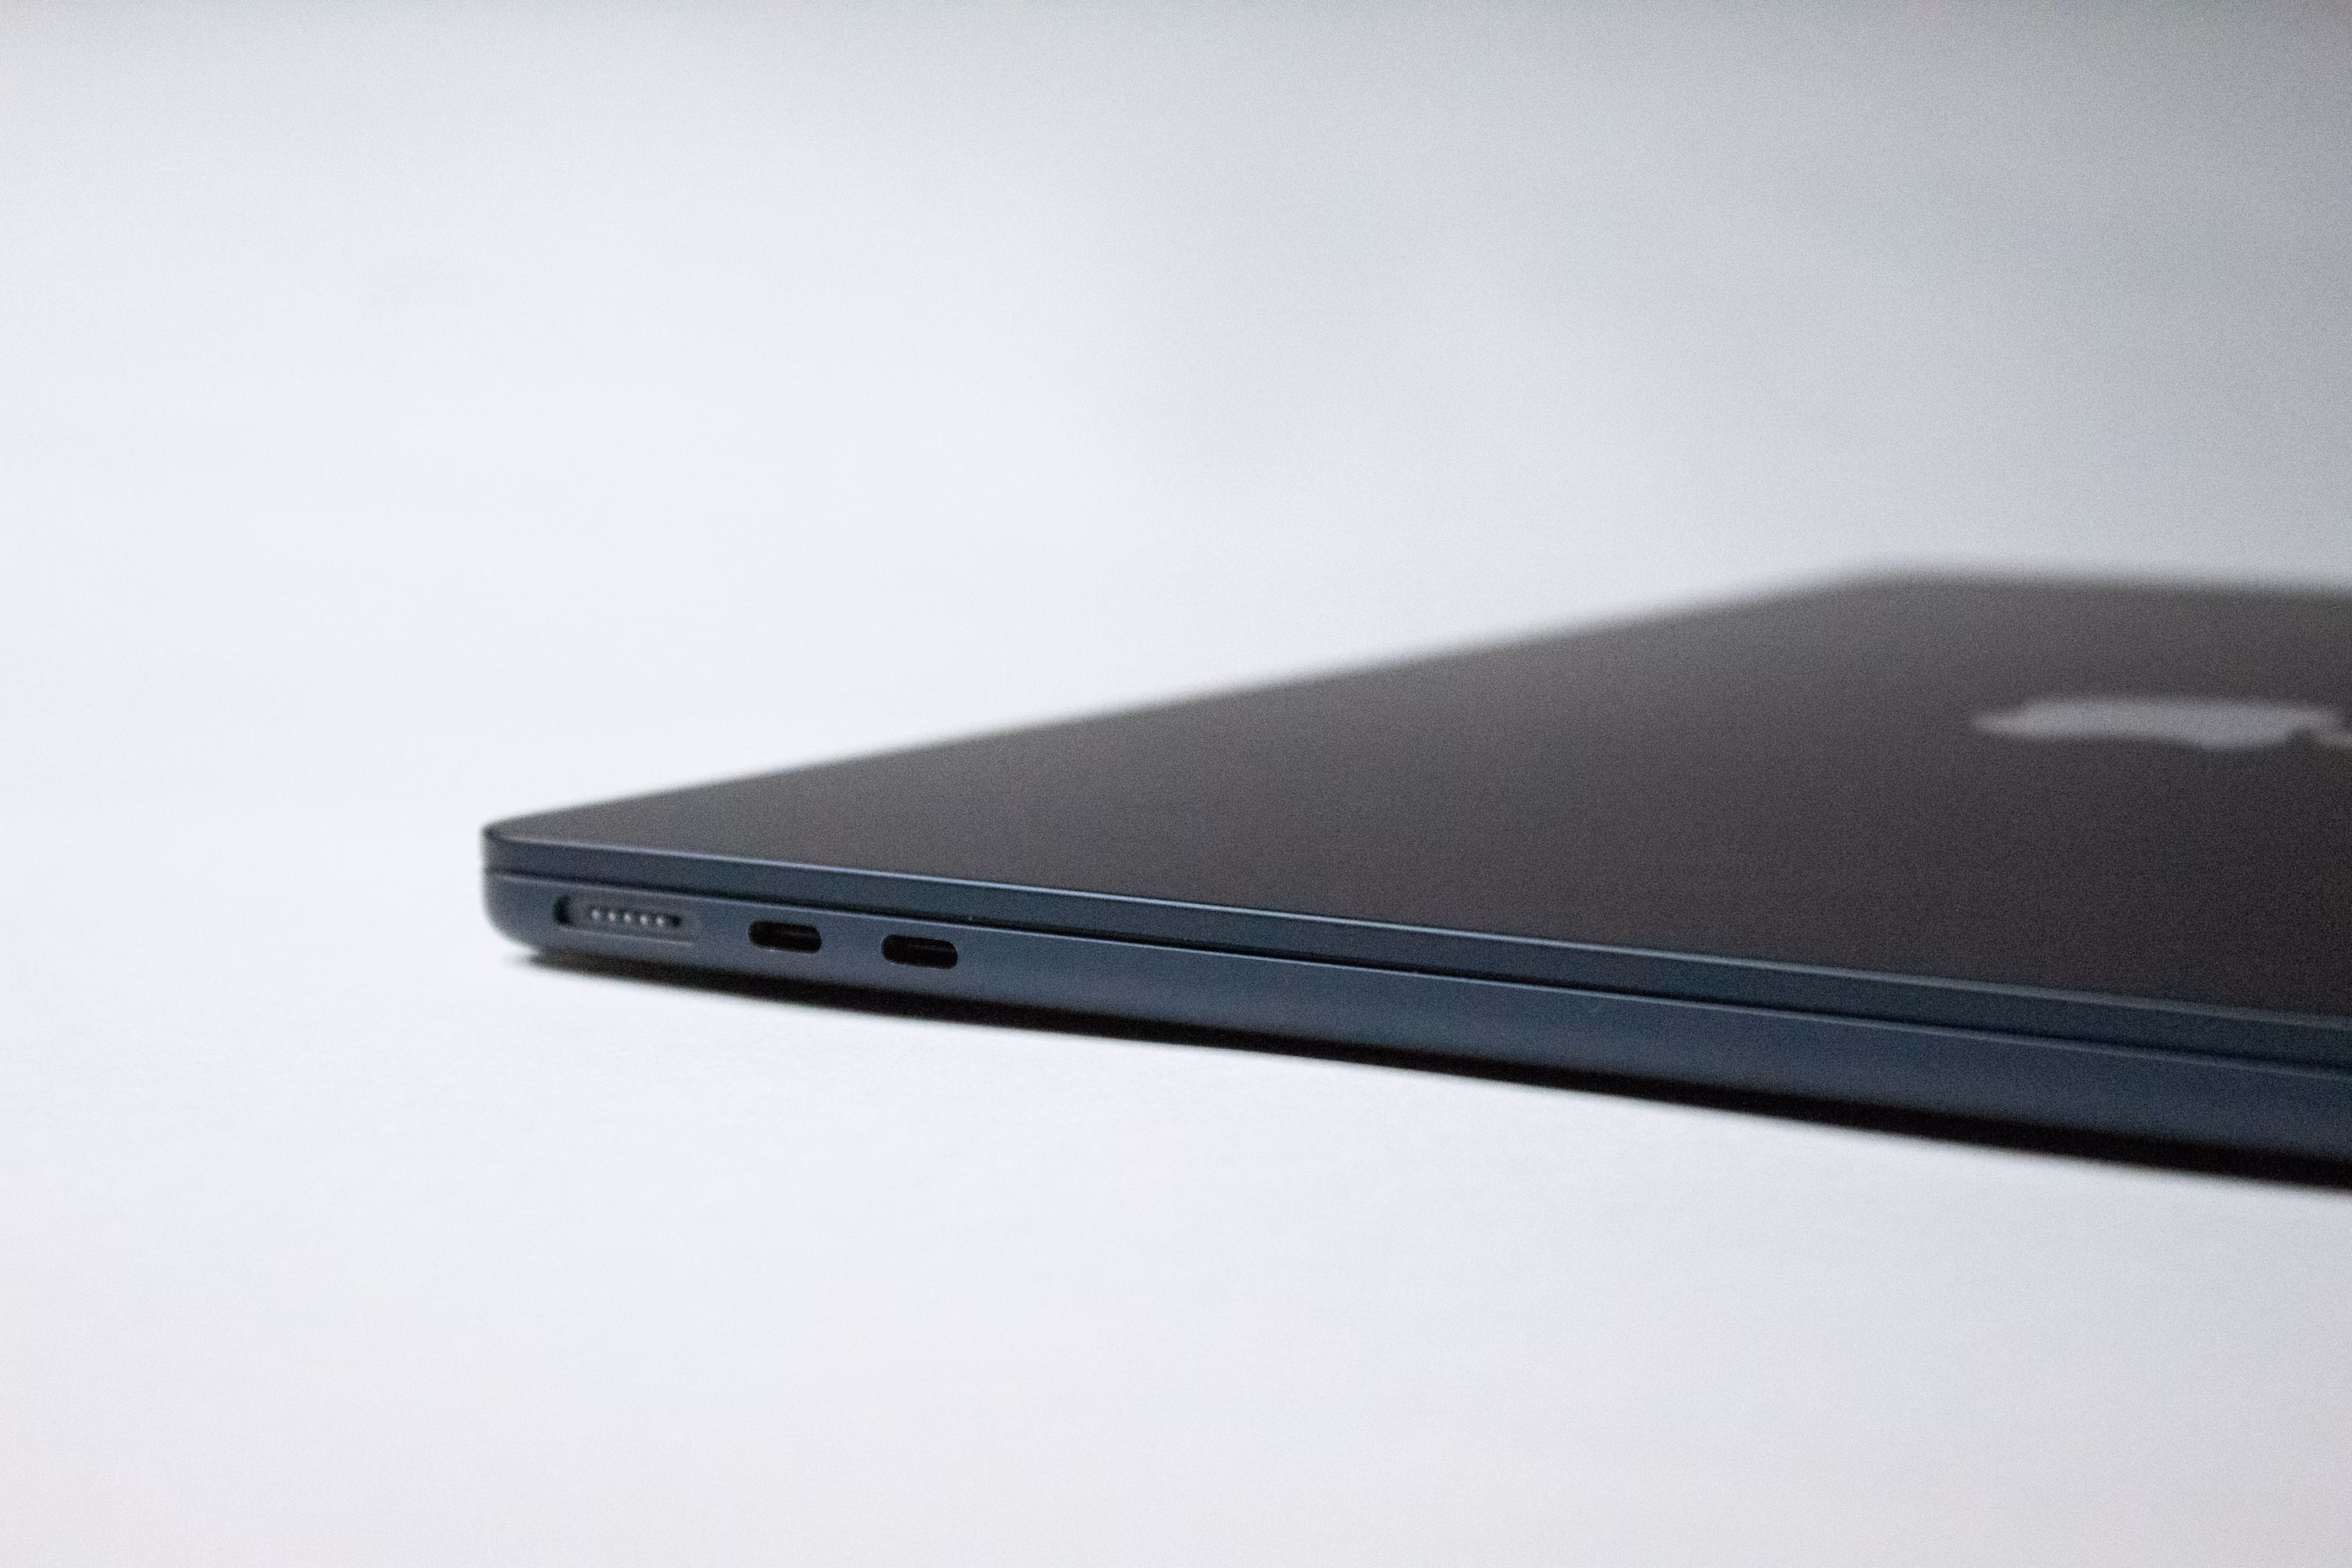
I recently upgraded to the MacBook Air M4 (24GB / 512GB)—an incredibly fast, silent, and efficient machine. Here's a breakdown of how I set it up for full-stack web development and design, using modern, developer-friendly tools.
I previously used a MacBook Air M1, which is still a fantastic machine, but due to the demands of my current projects especially running Docker containers, multiple dev environments, and design tools, I needed more RAM and upgraded to the M4 with 24GB ram and 512GB storage.
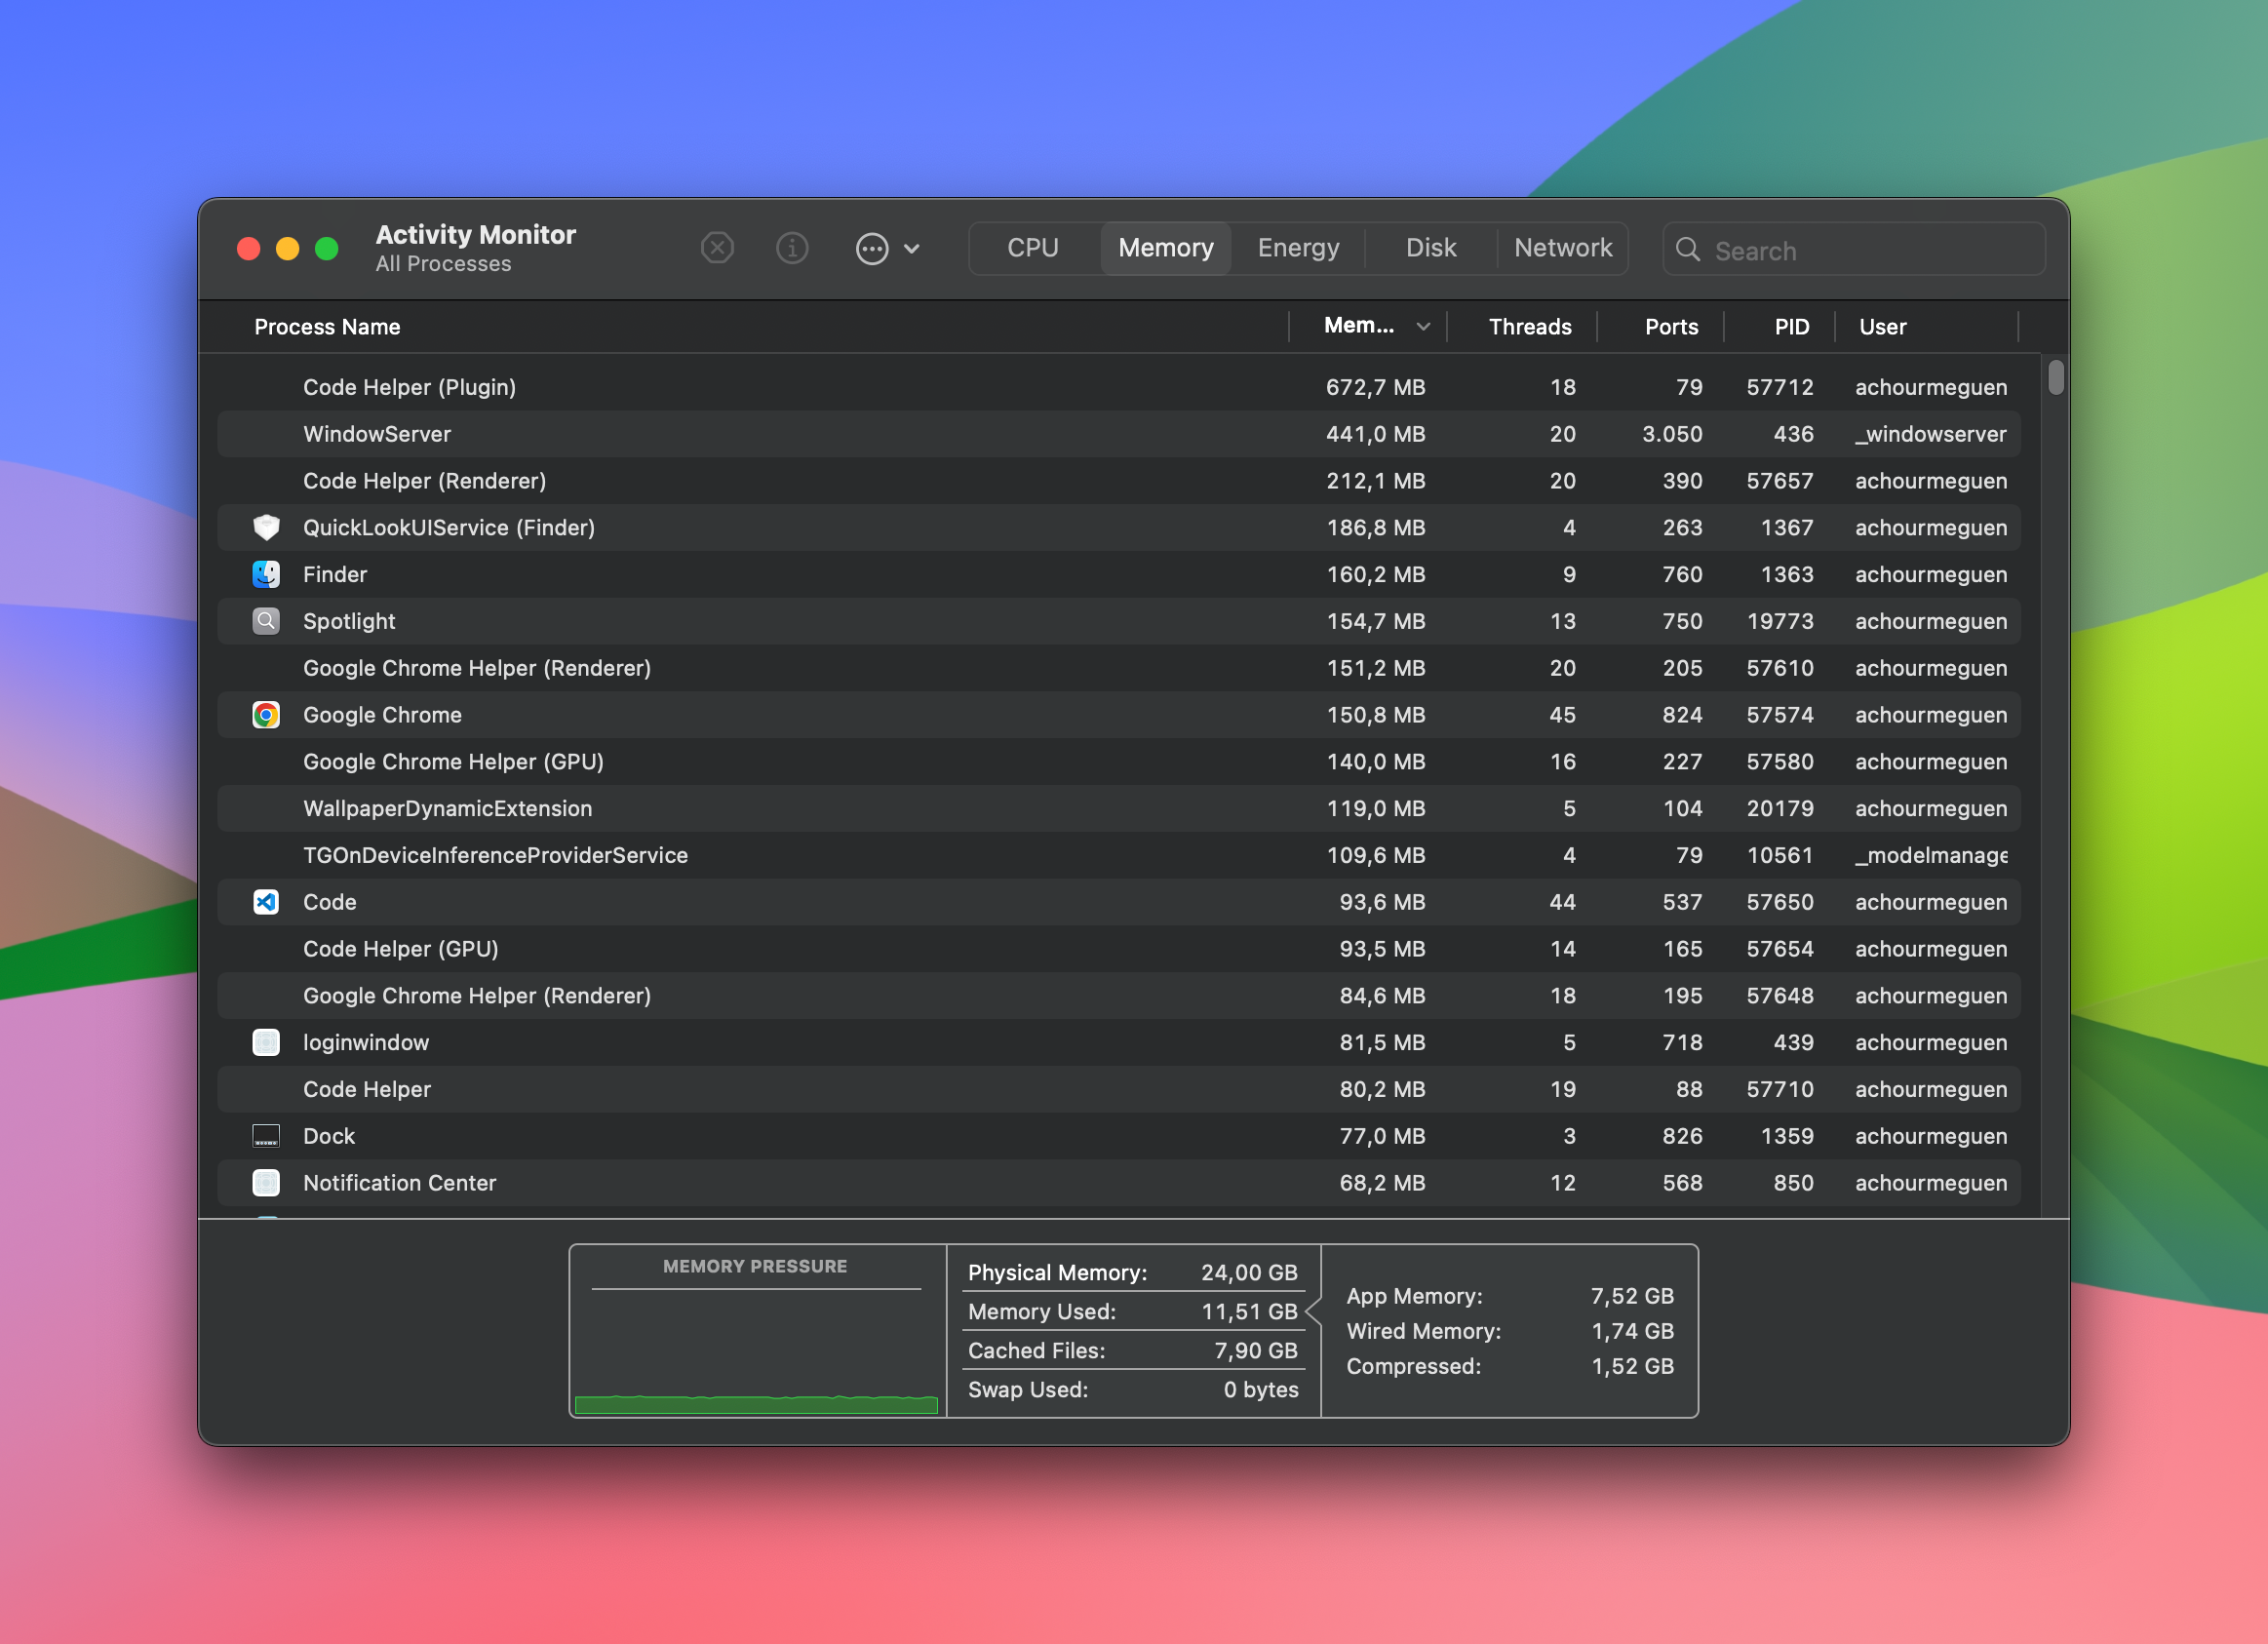
💡 Note: One thing I noticed with both the M2 and now the M4 is that macOS tends to use more RAM, especially with 24GB or more available—and that’s actually a good thing. Modern systems are designed to use available memory for caching and performance boosts. Unused RAM is wasted RAM, so if you see high memory usage in Activity Monitor, don’t panic, it's normal and often helps your apps run faster and smoother.
🙌 Before we start, make sure to follow me on Instagram for more web dev tips, tools, and behind-the-scenes content:
👉 @mr.digitus
🔧 1. Homebrew – The Essential Package Manager
Before anything else, install Homebrew:
/bin/bash -c "$(curl -fsSL https://raw.githubusercontent.com/Homebrew/install/HEAD/install.sh)"
💡 Tip: After installation, follow the printed instructions to add Homebrew to your shell profile (
.zprofilefor Zsh or.bash_profilefor Bash).
Use it to install most of the tools below.
🧠 2. Warp – Terminal Reimagined
Warp is my terminal of choice. It's blazing fast and includes AI features, autocomplete, and modern UI improvements over the traditional macOS Terminal.
brew install --cask warp`
🧰 3. Visual Studio Code – My Editor of Choice
VS Code remains the best all-rounder code editor. Install it via Homebrew:
brew install --cask visual-studio-code`
✅ Don’t forget: Launch VS Code and press
Cmd+Shift+P→ typeShell Command: Install 'code' command in PATHso you can open projects from the terminal with:
code .
Recommended Extensions
Prettier
ESLint
Tailwind CSS IntelliSense
GitLens
Laravel Blade Snippets
🌐 4. Google Chrome – Dev-Friendly Browser
Install Chrome for its powerful DevTools and great support for dev extensions.
brew install --cask google-chrome`
🌲 5. Node.js – JavaScript/Node Development
Install the latest LTS version of Node.js using Homebrew:
brew install node`
Check versions:
node -v
npm -v
📸 6. CleanShot X – Best Screenshot & Recording Tool
CleanShot X is a must-have for capturing screenshots and screen recordings cleanly and efficiently. It’s not free, but totally worth it if you're creating tutorials or documenting bugs.
🎥 7. Screen Studio – Beautiful Screen Recordings
Screen Studio makes elegant screen recordings, perfect for YouTube, reels, or client demos. Smooth zooms, transitions, and a UI made for creators.
🐘 8. Laravel & Herd – Smooth PHP Development
For Laravel and PHP-based projects, Herd is the easiest way to get started. It's a fast, native Laravel+PHP environment on macOS.
It includes PHP, MySQL, Valet (for automatic .test domains), and more—all in one package.
🎨 9. Figma – UI/UX Design Made Simple
Figma is my go-to design tool for wireframes, mockups, and UI/UX prototyping. It's collaborative and works perfectly on macOS.
brew install --cask figma`
💡 Bonus Tools & Tweaks
Raycast – A fast, customizable Spotlight alternative.
iTerm2 – If not using Warp, a great terminal alternative.
Rectangle – Snap windows with keyboard shortcuts.
Git – Already installed, but make sure it’s up to date.
nvm – For managing multiple Node.js versions:
brew install nvm
Final Thoughts
This MacBook Air M4 is the perfect dev companion—lightweight, powerful, and fanless. With the right tools, it transforms into a full-stack powerhouse for building, designing, and deploying modern web apps.